-
Features
Features
For Sales Manager:
- Dare To Compare
- Pricing
- Industries
- Resources
- Refer & Earn

Business WhatsApp
Want to connect your Wati account with Kylas CRM? This step-by-step guide will walk you through the process, from installing the app in Kylas Marketplace to integrating Wati and setting up template messages. By the end, you'll be able to send personalized WhatsApp messages directly from your Kylas account.
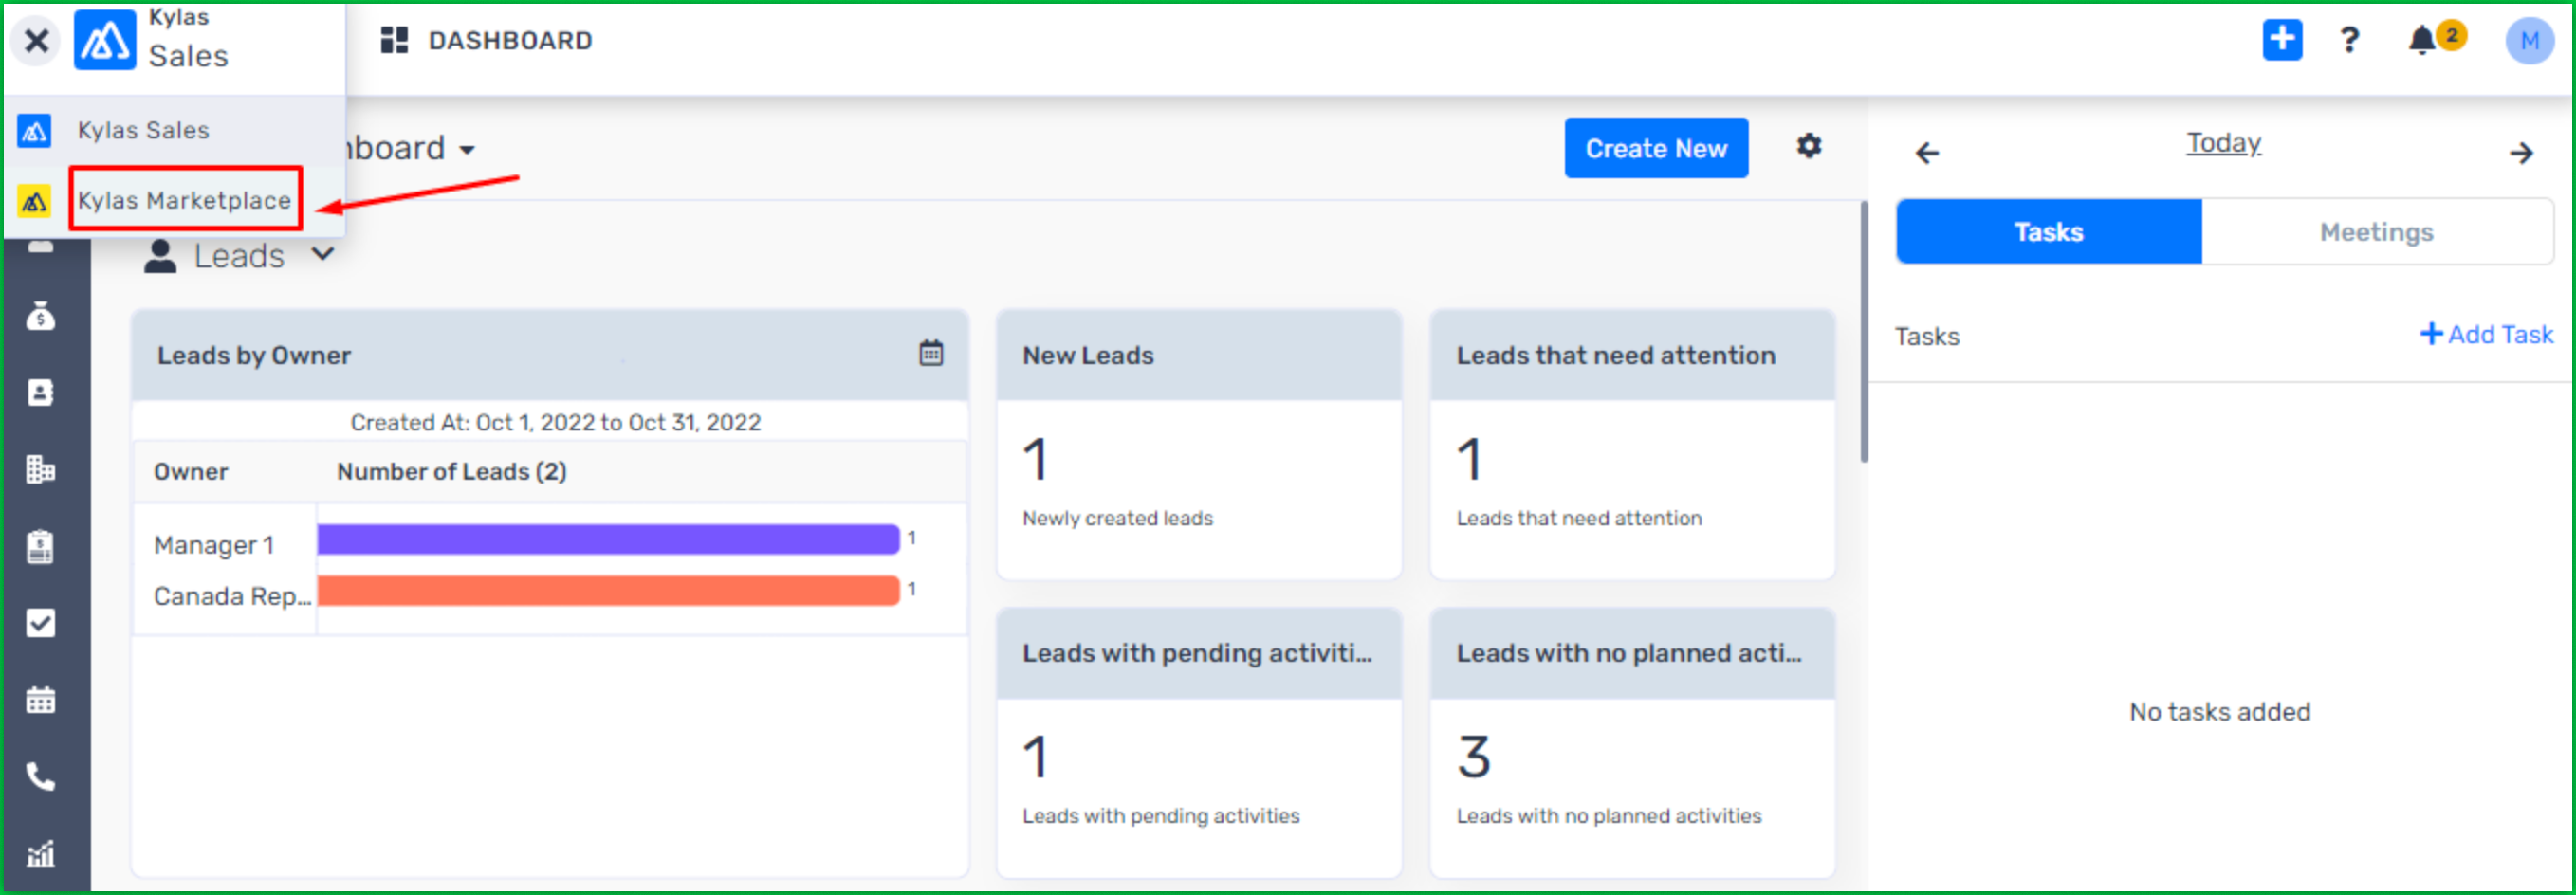
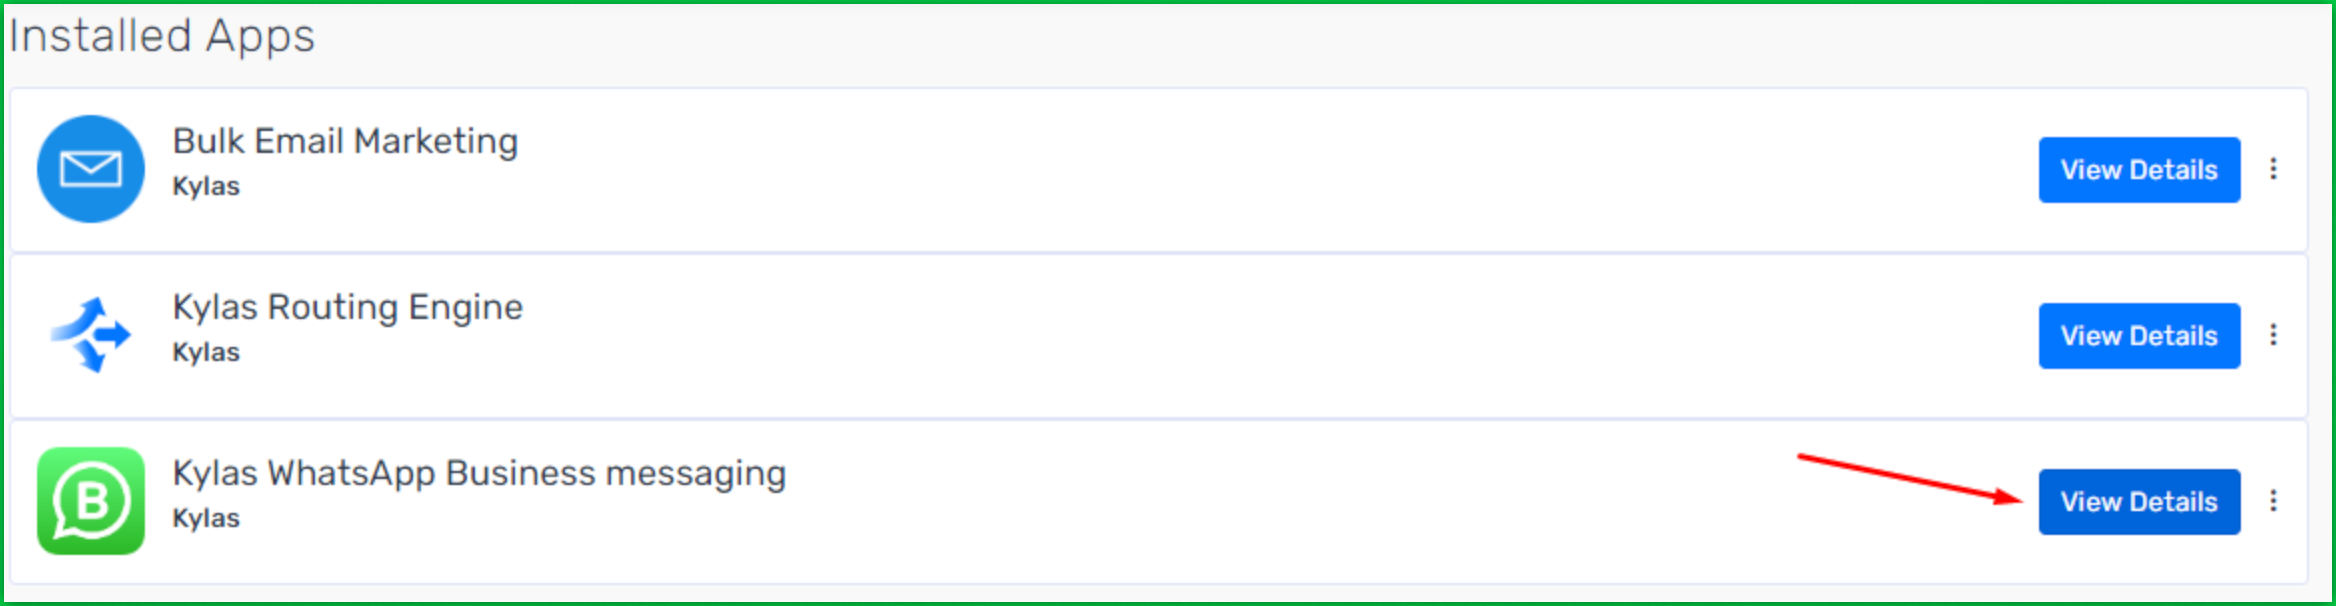
In Kylas Marketplace, go to Installed Apps and click View details.
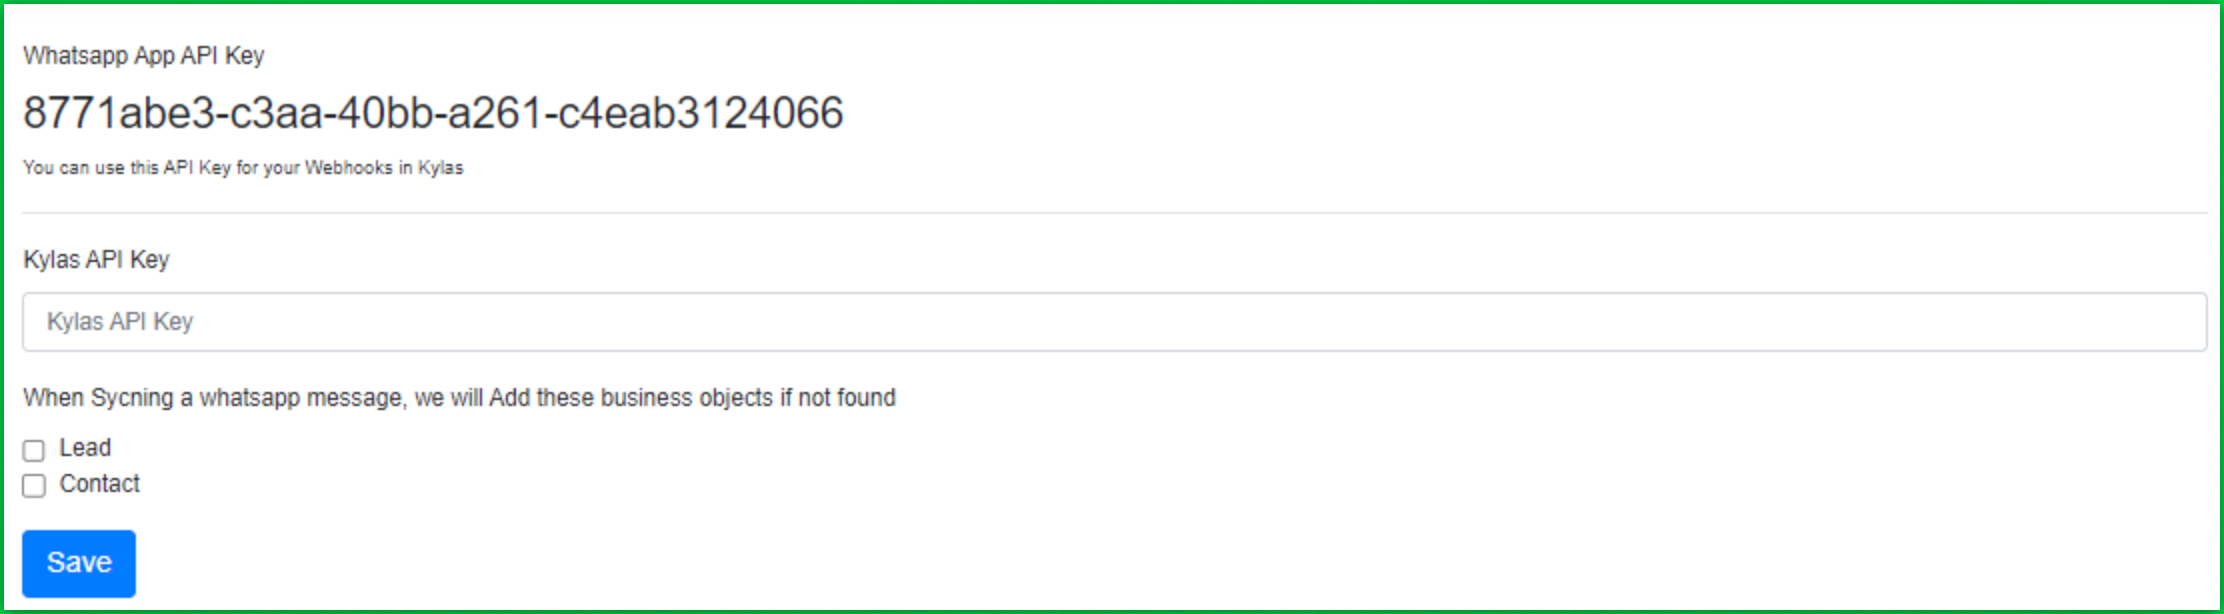
Open the API Keys section.
Enter your Kylas API key (found under Settings > Integrations).
Choose the appropriate business object (Lead or Contact).
When a customer replies to a WhatsApp message, Kylas will create a Lead or Contact based on your selection.
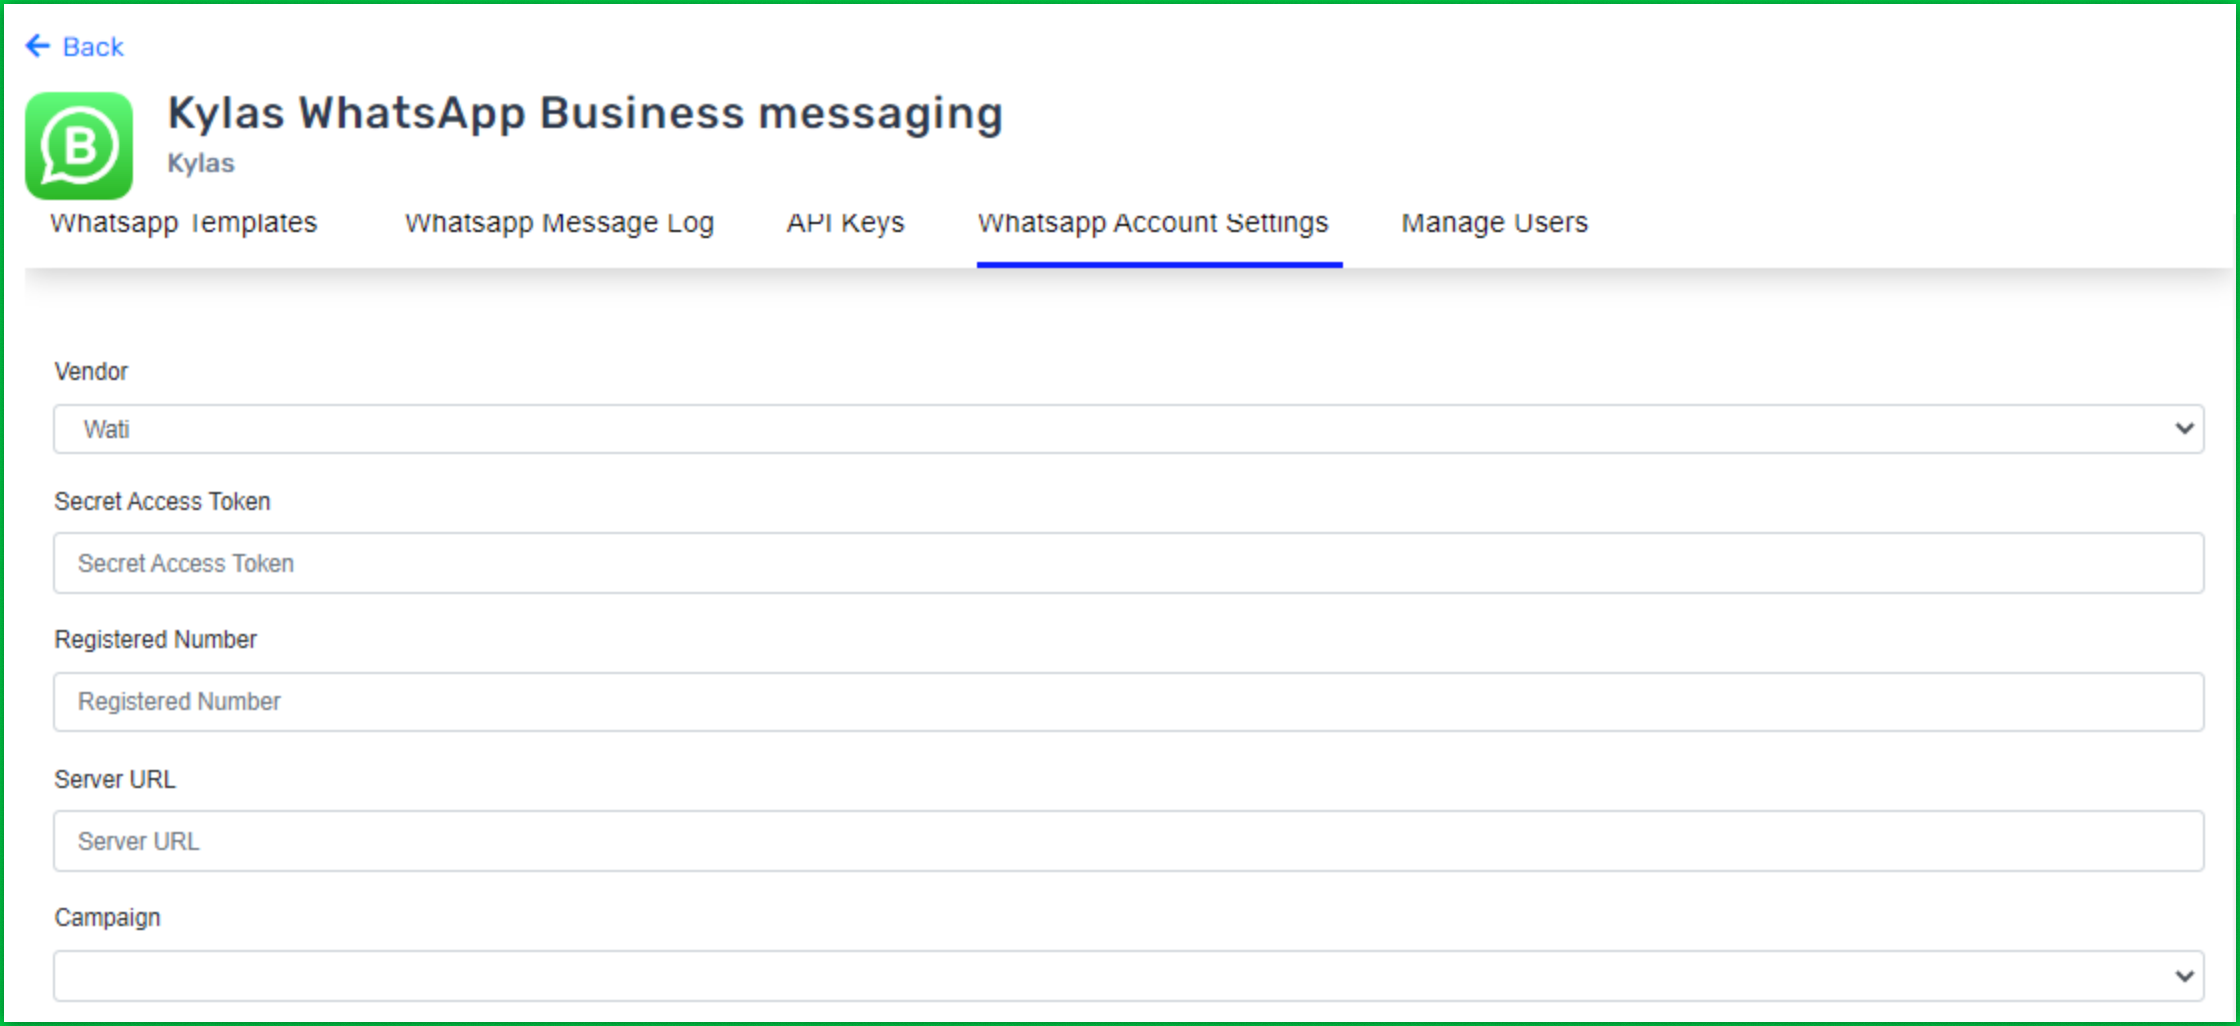
Go to WhatsApp Account Settings.
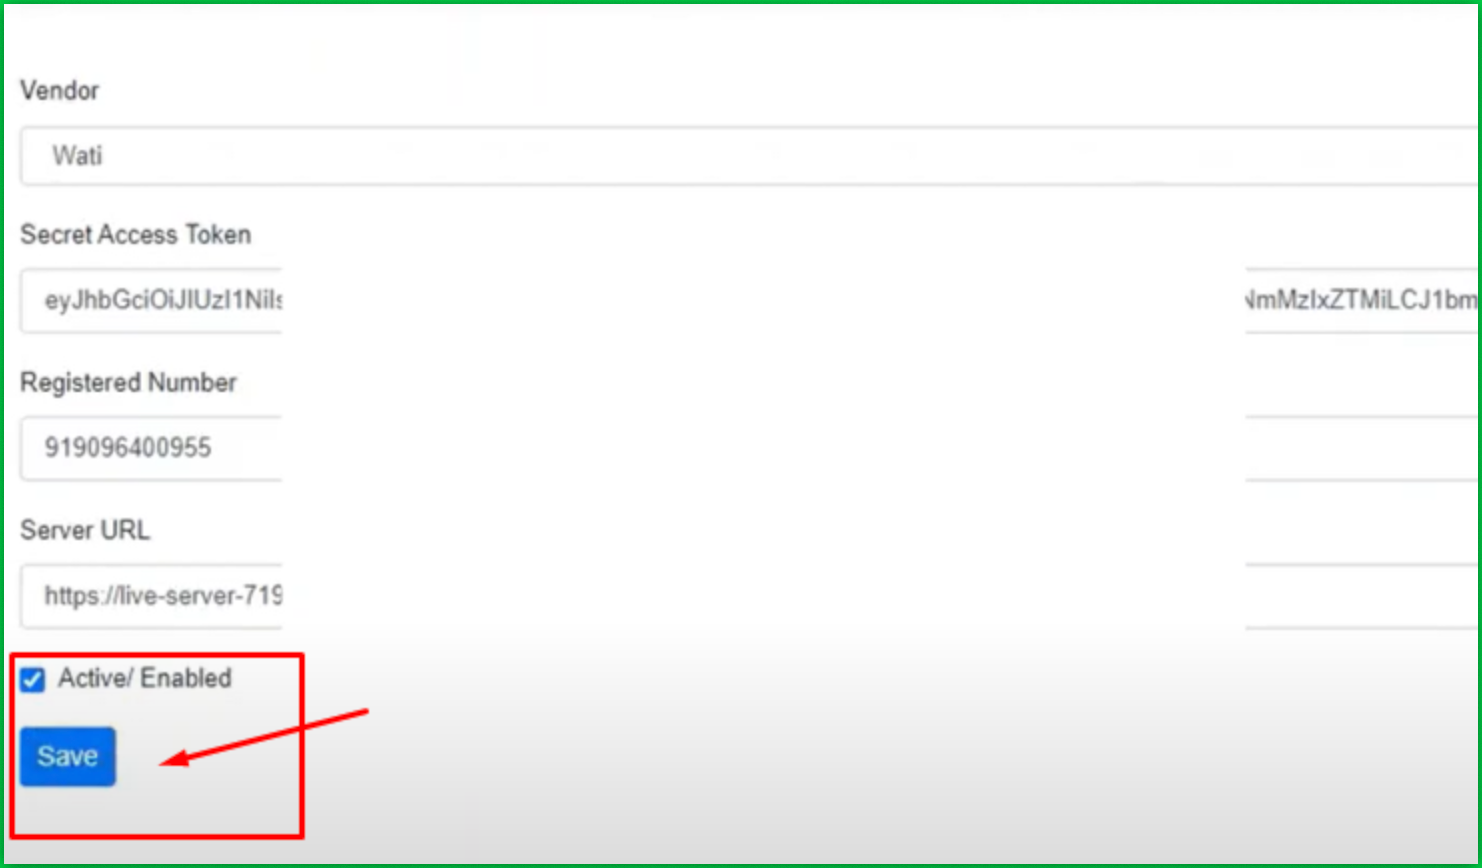
Set the vendor as Wati.
Open a new tab and log in to your Wati account.
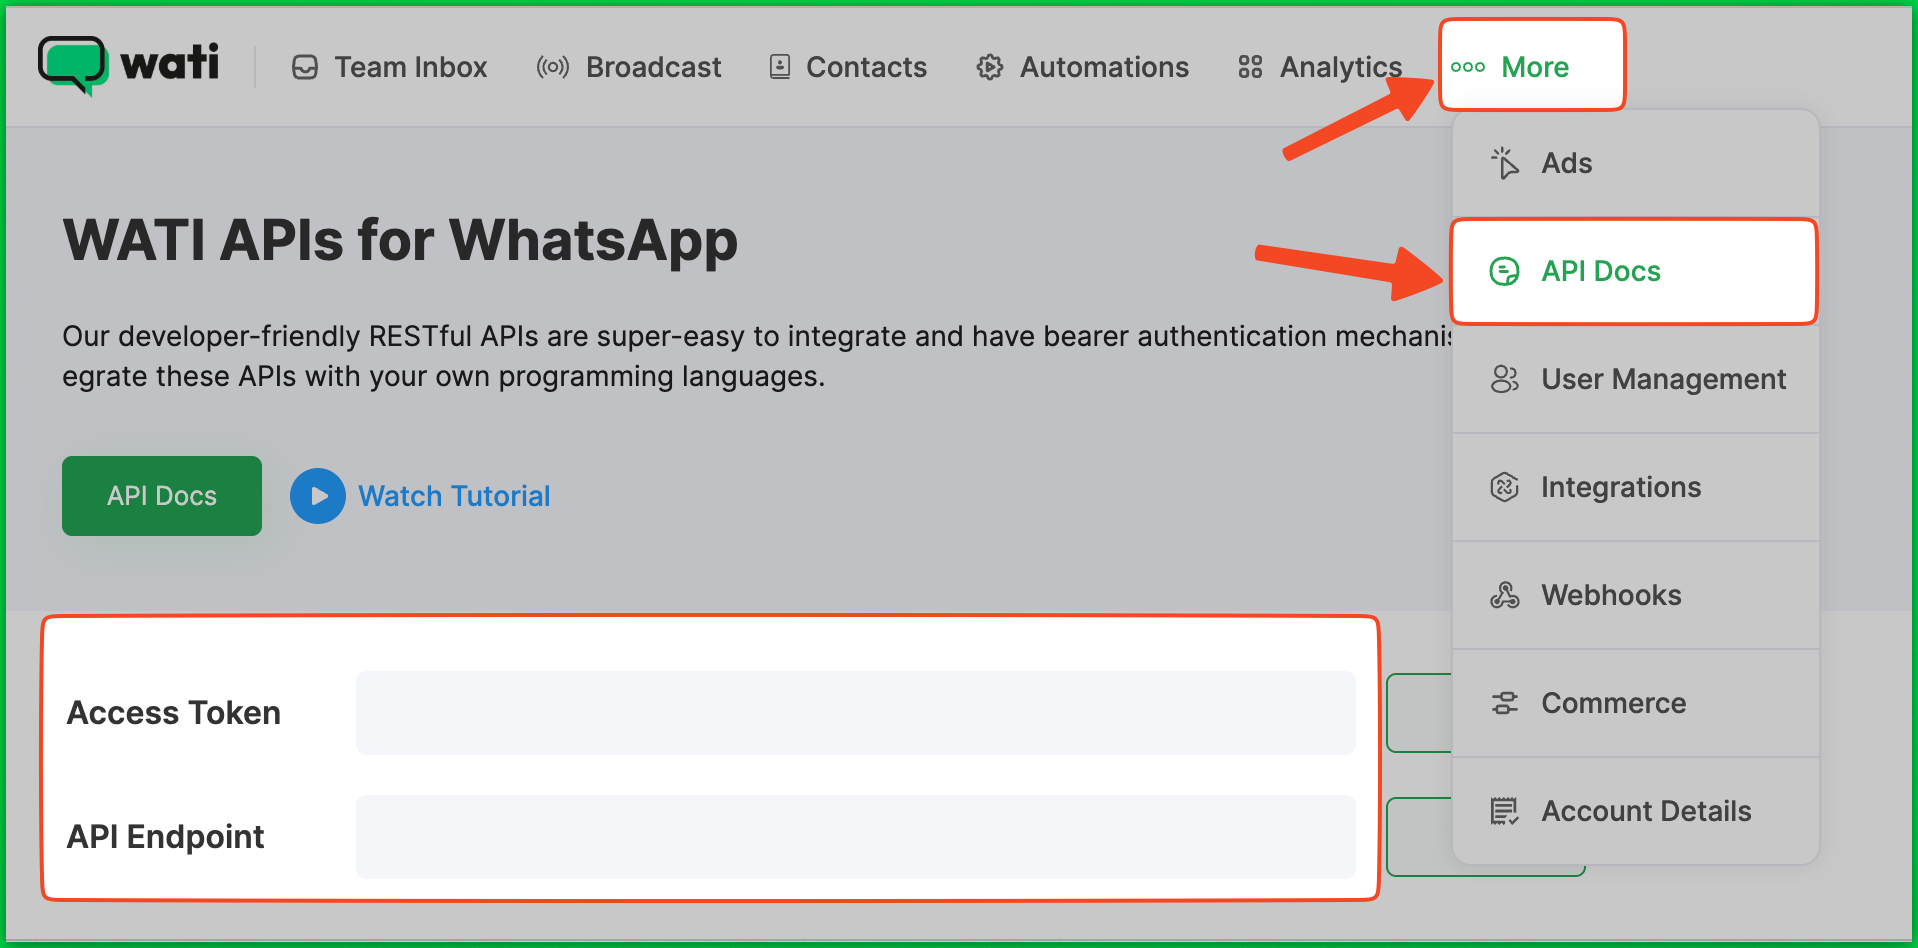
Note: When copying the Access Token,remove the word Bearer before pasting.

Paste the Access Token into the appropriate field in Kylas.
Enter your WhatsApp Business number.
Paste the API Endpoint into the Server URL field.
Select the Active/Enabled checkbox and click Save.

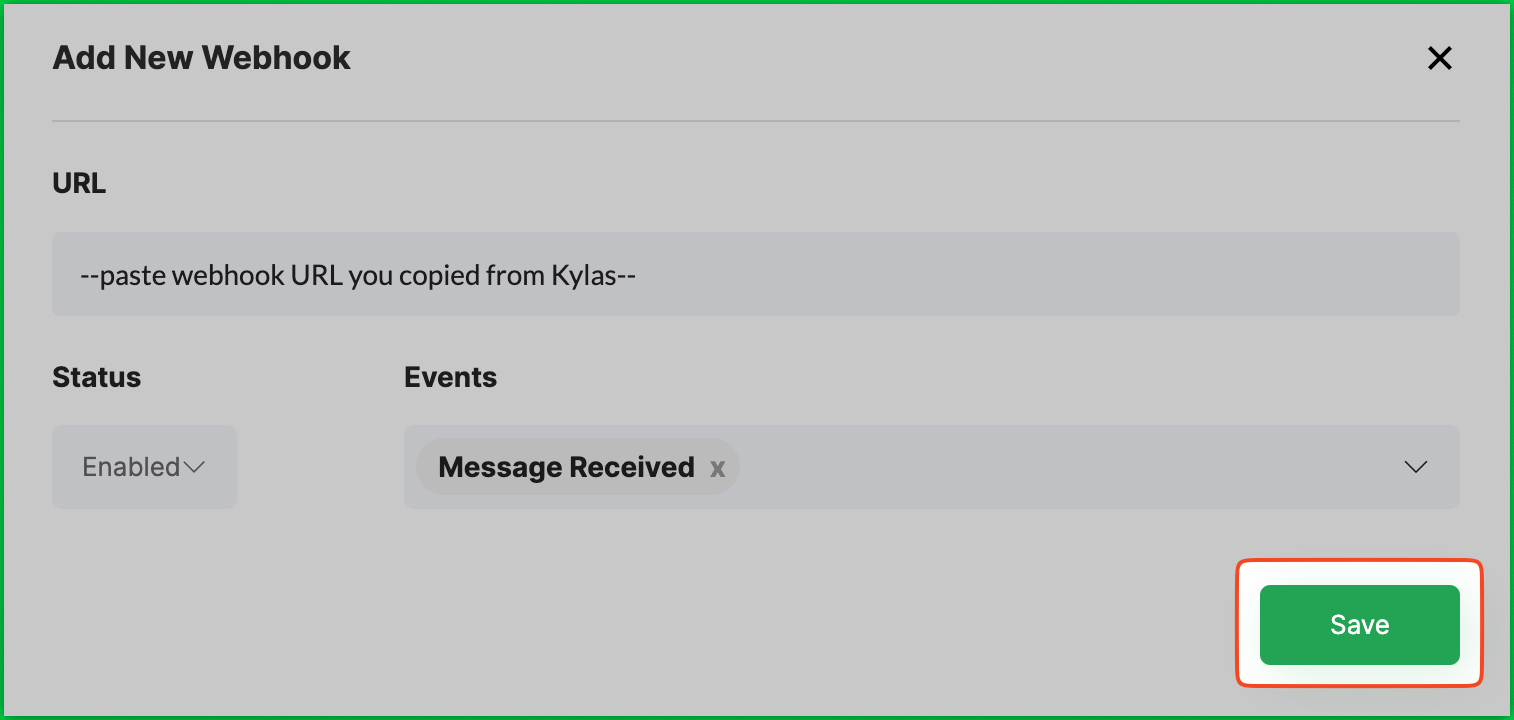
In your Wati account, go to Webhooks and click Add a Webhook.
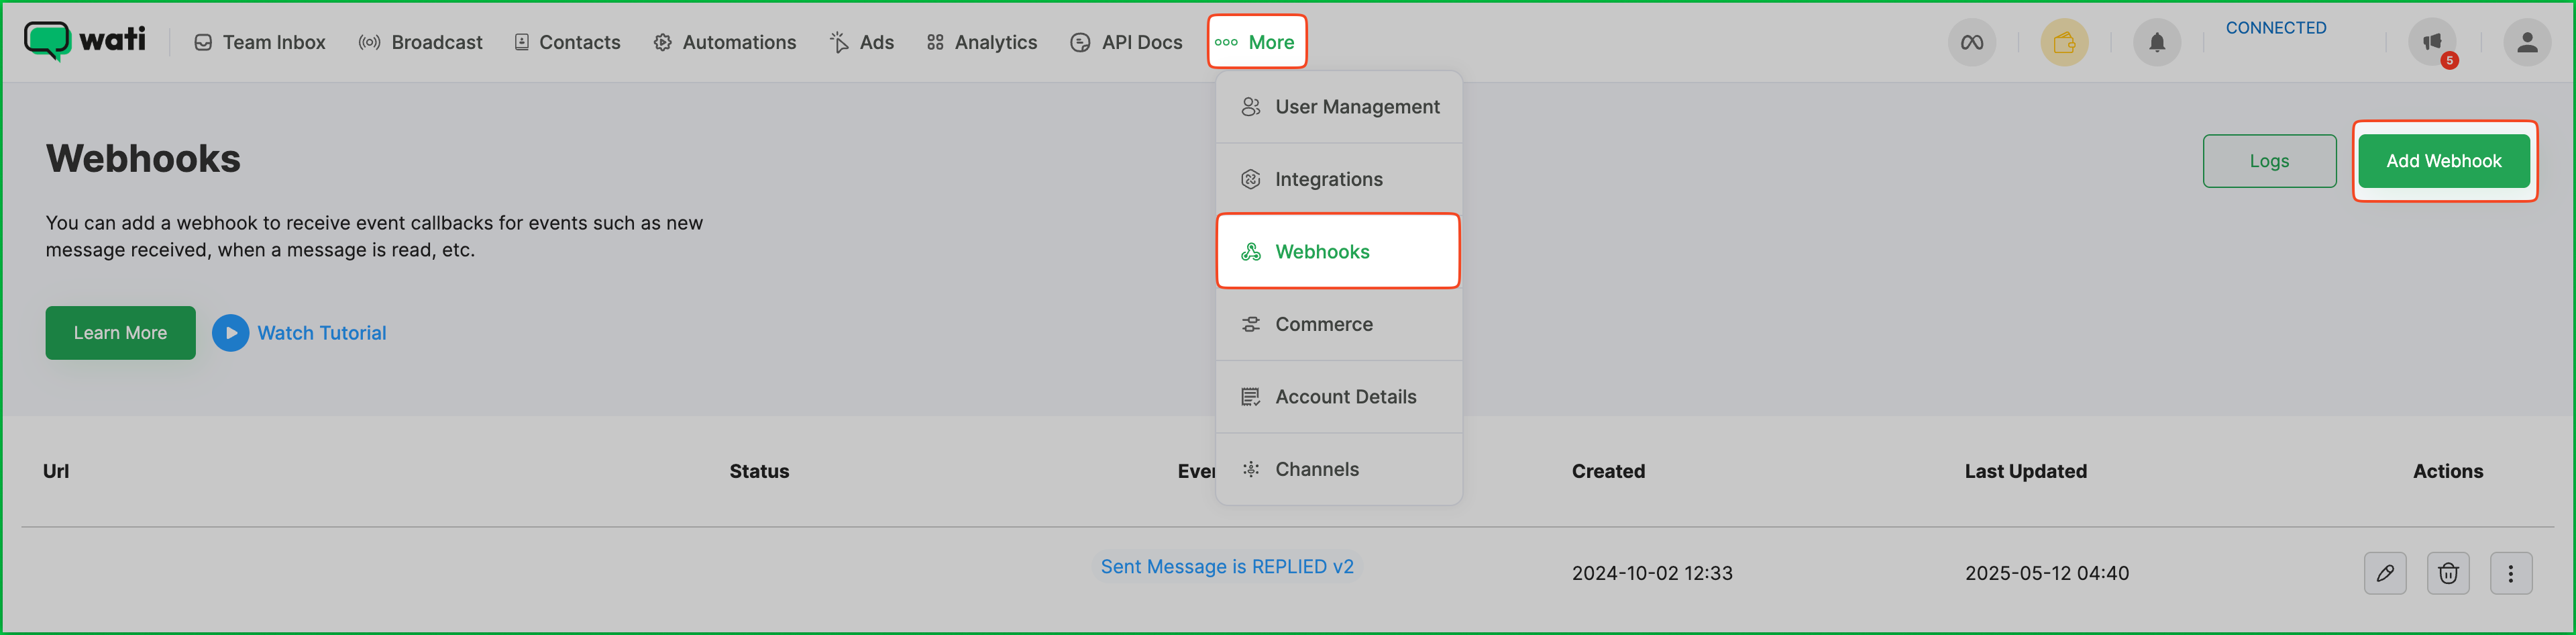
Paste the Webhook URL.
Set the status to Enabled.
For events, choose Message Received, then click Save.
Add a new lead in Kylas.
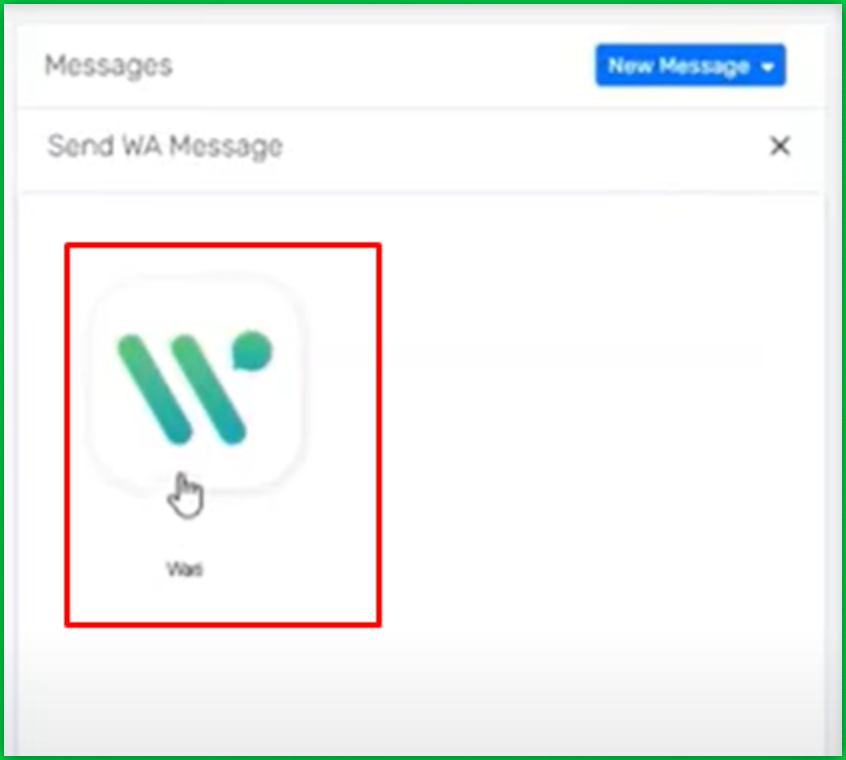
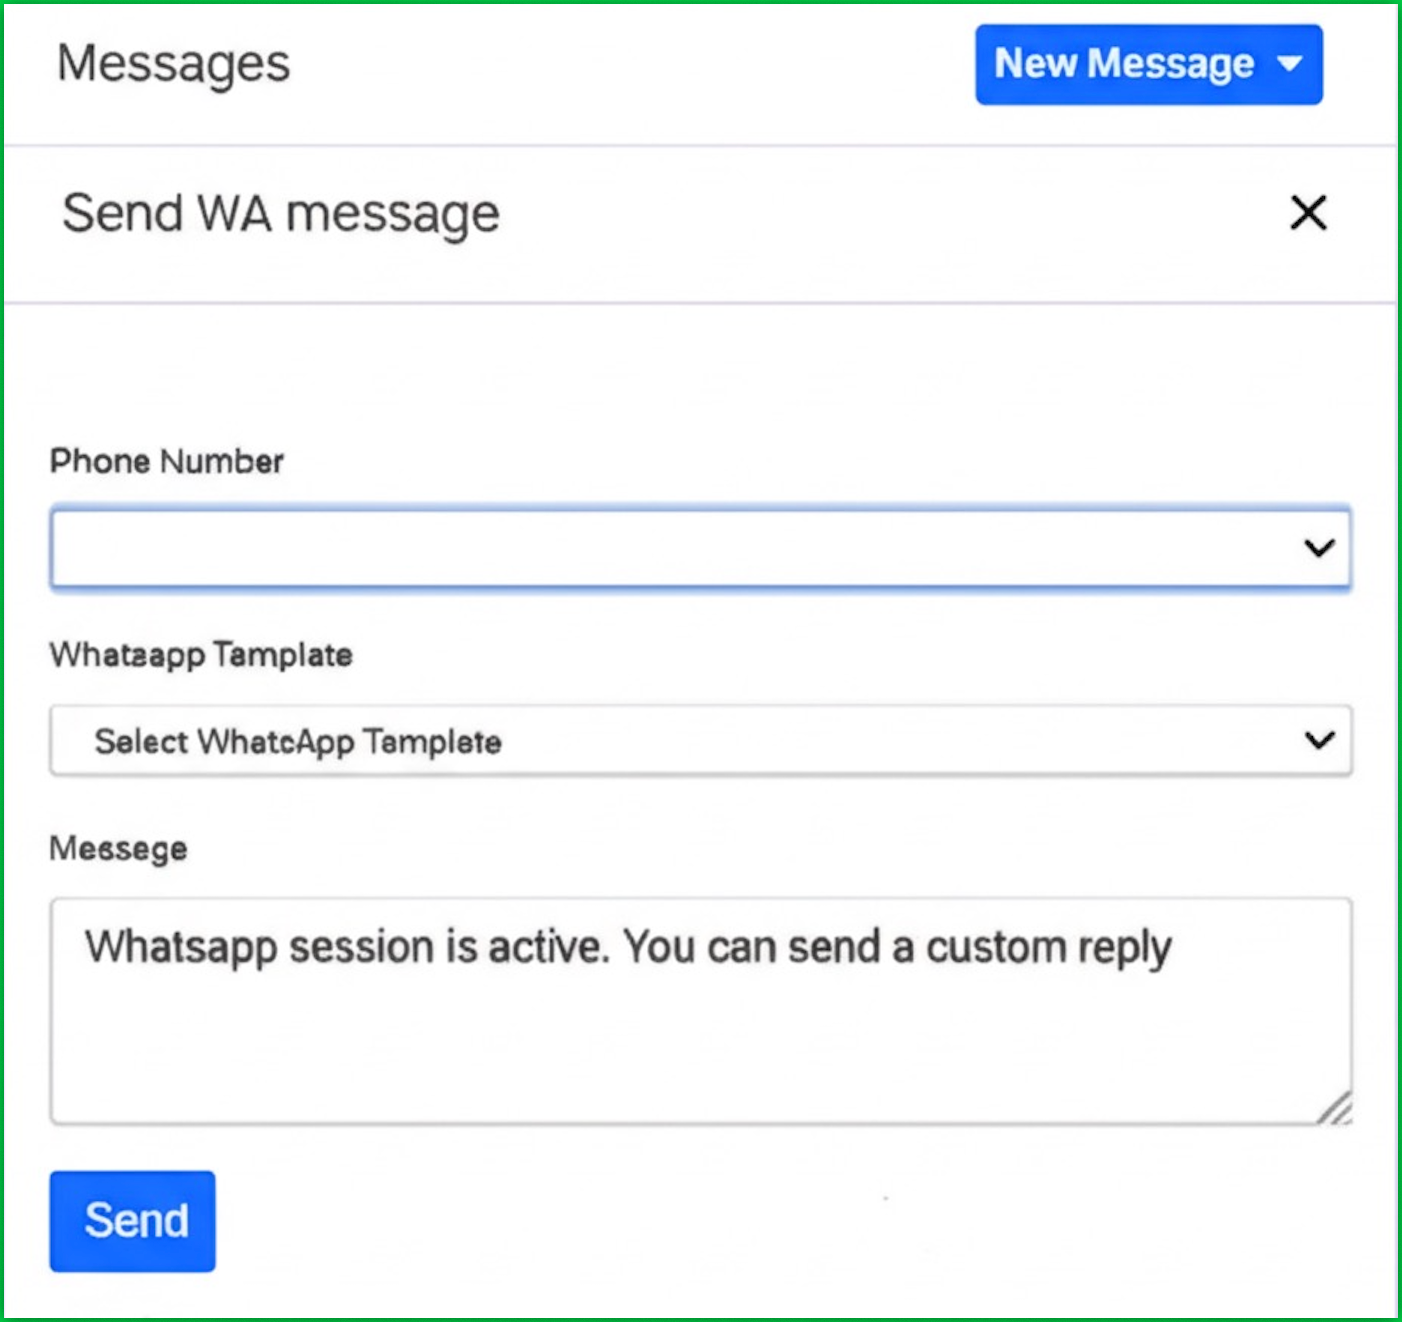
In the Productivity panel on the right, click Messages > New Message.

Select the Wati Messaging App.
In your Wati account, go to the Broadcast section.
Click on **Template Messages(**or Your Templates).
To create a new template, click on New Template Message.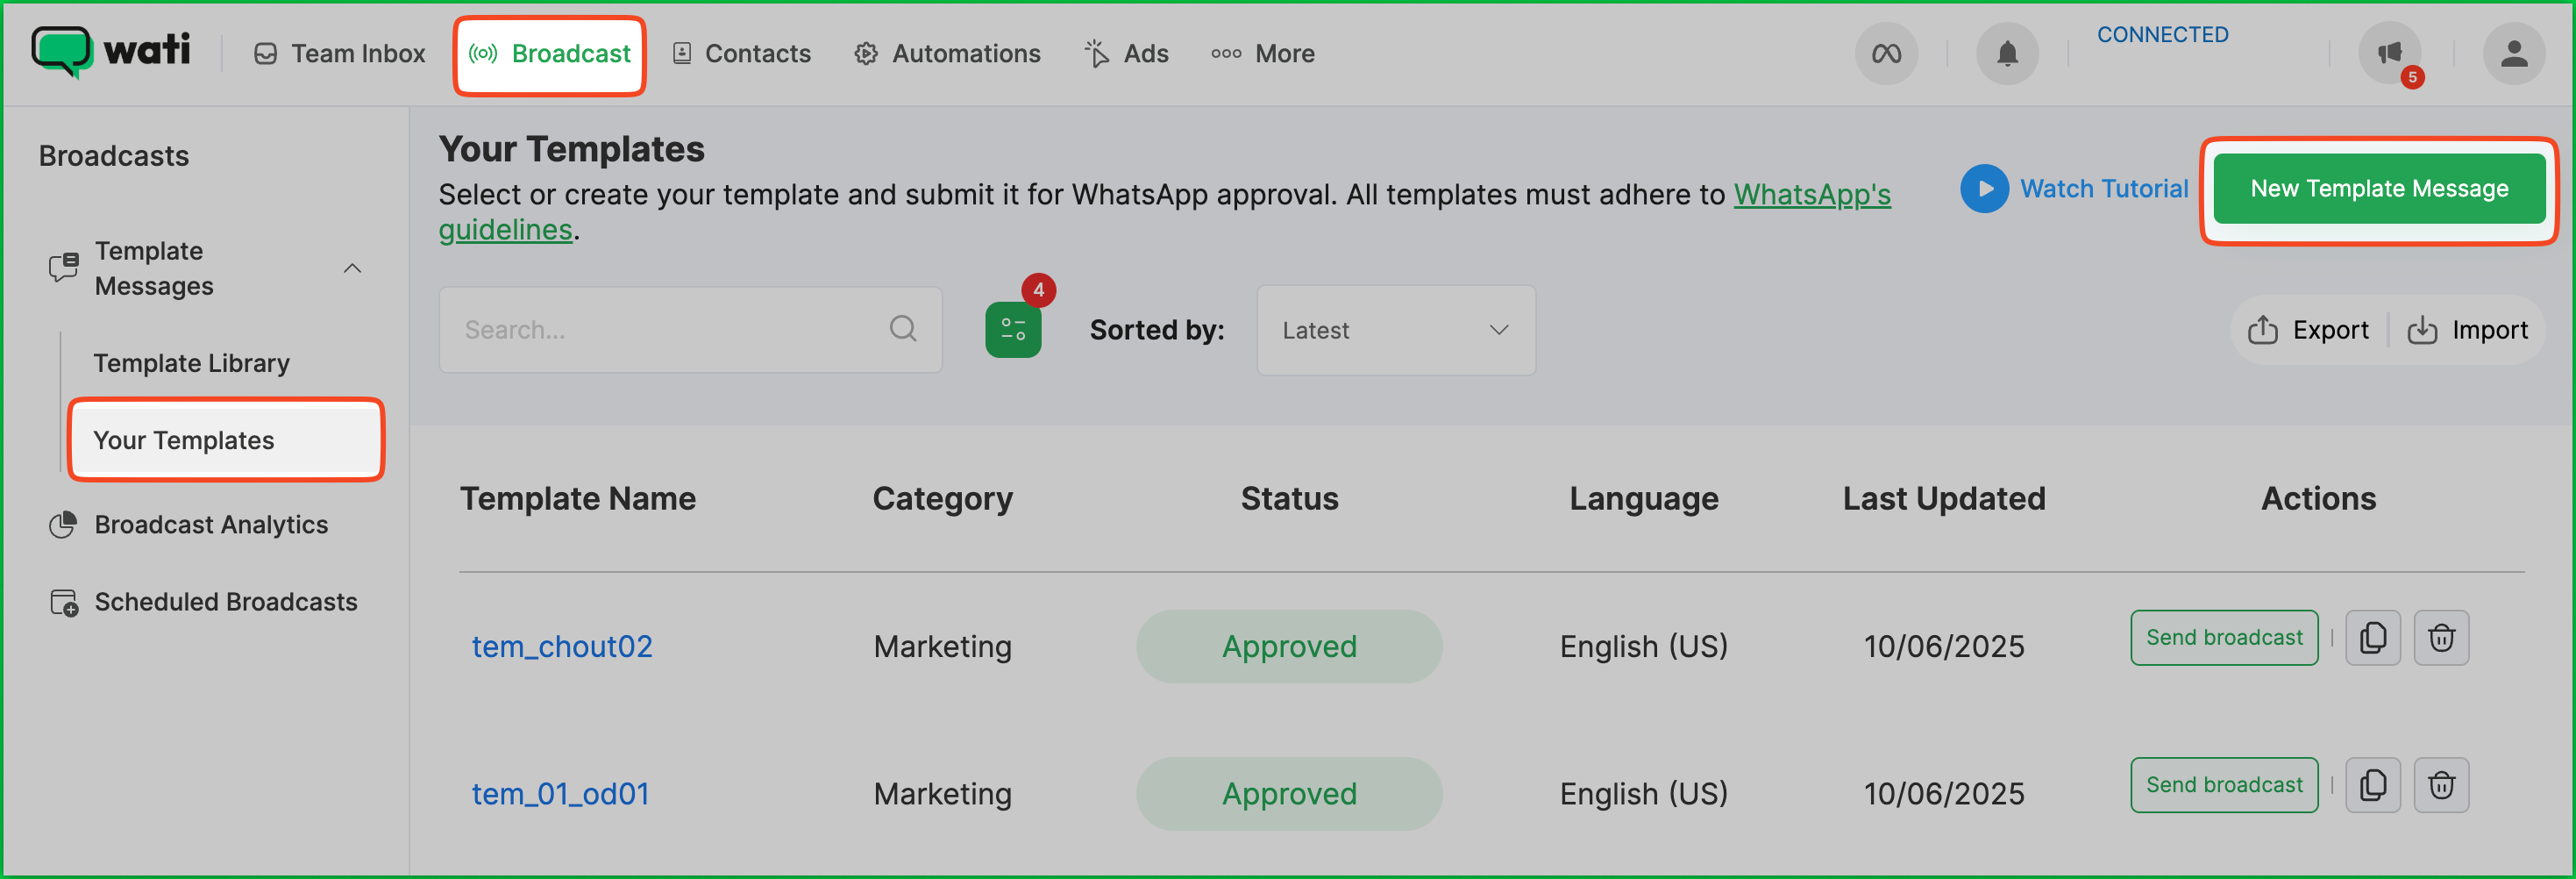
Fill out the template details:
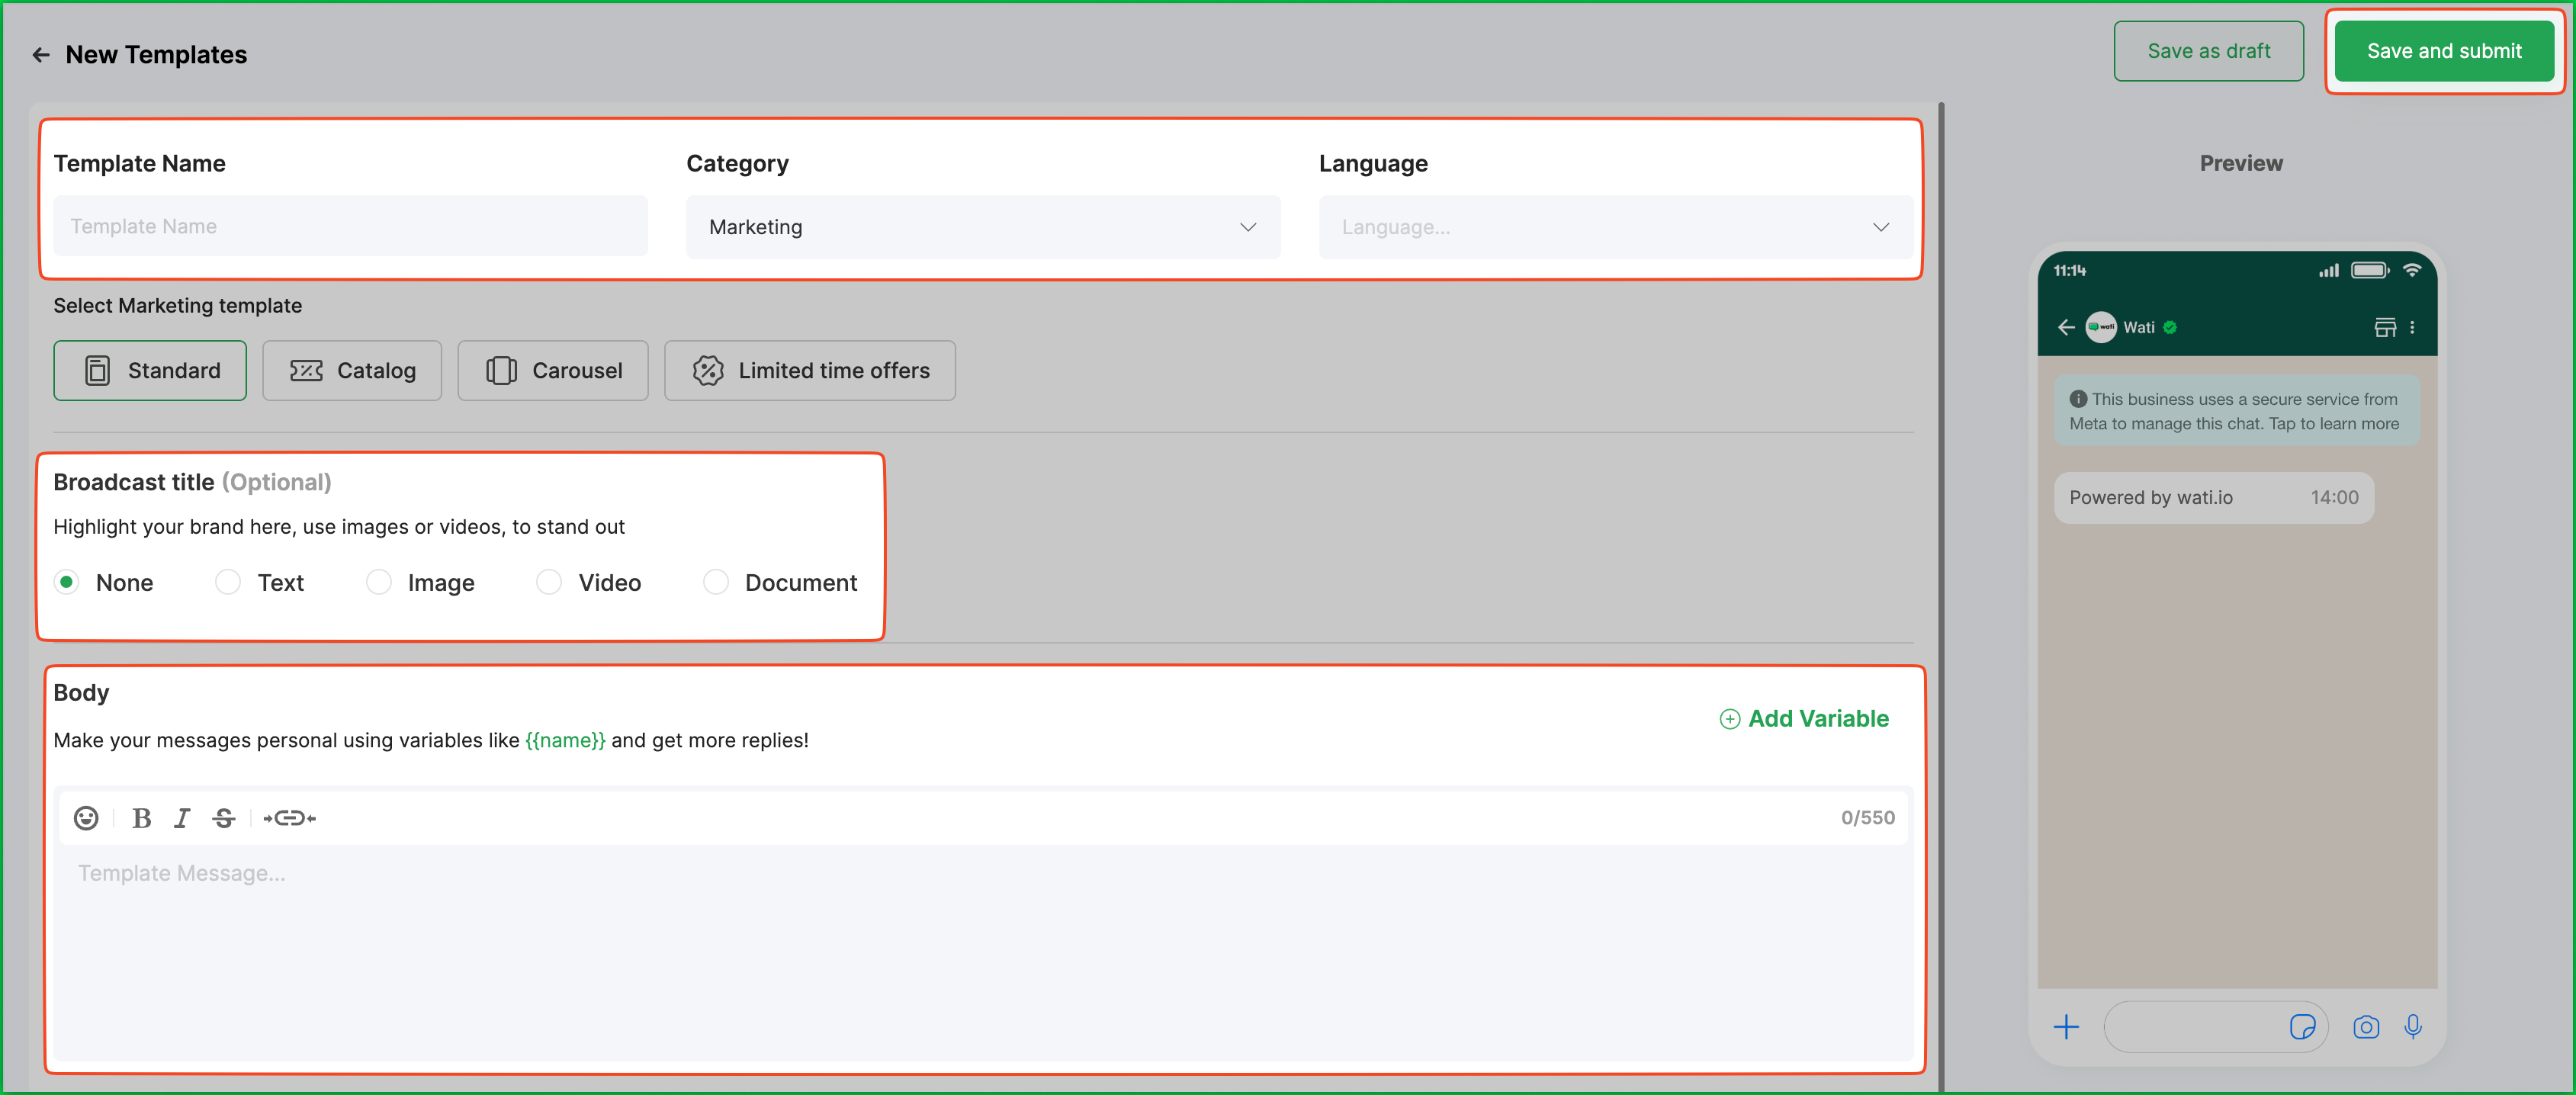
Click Save and Submit.
Note: Templates must be approved by Meta per WhatsApp’s terms and conditions before you can use them.
To make your Wati templates usable inside Kylas:
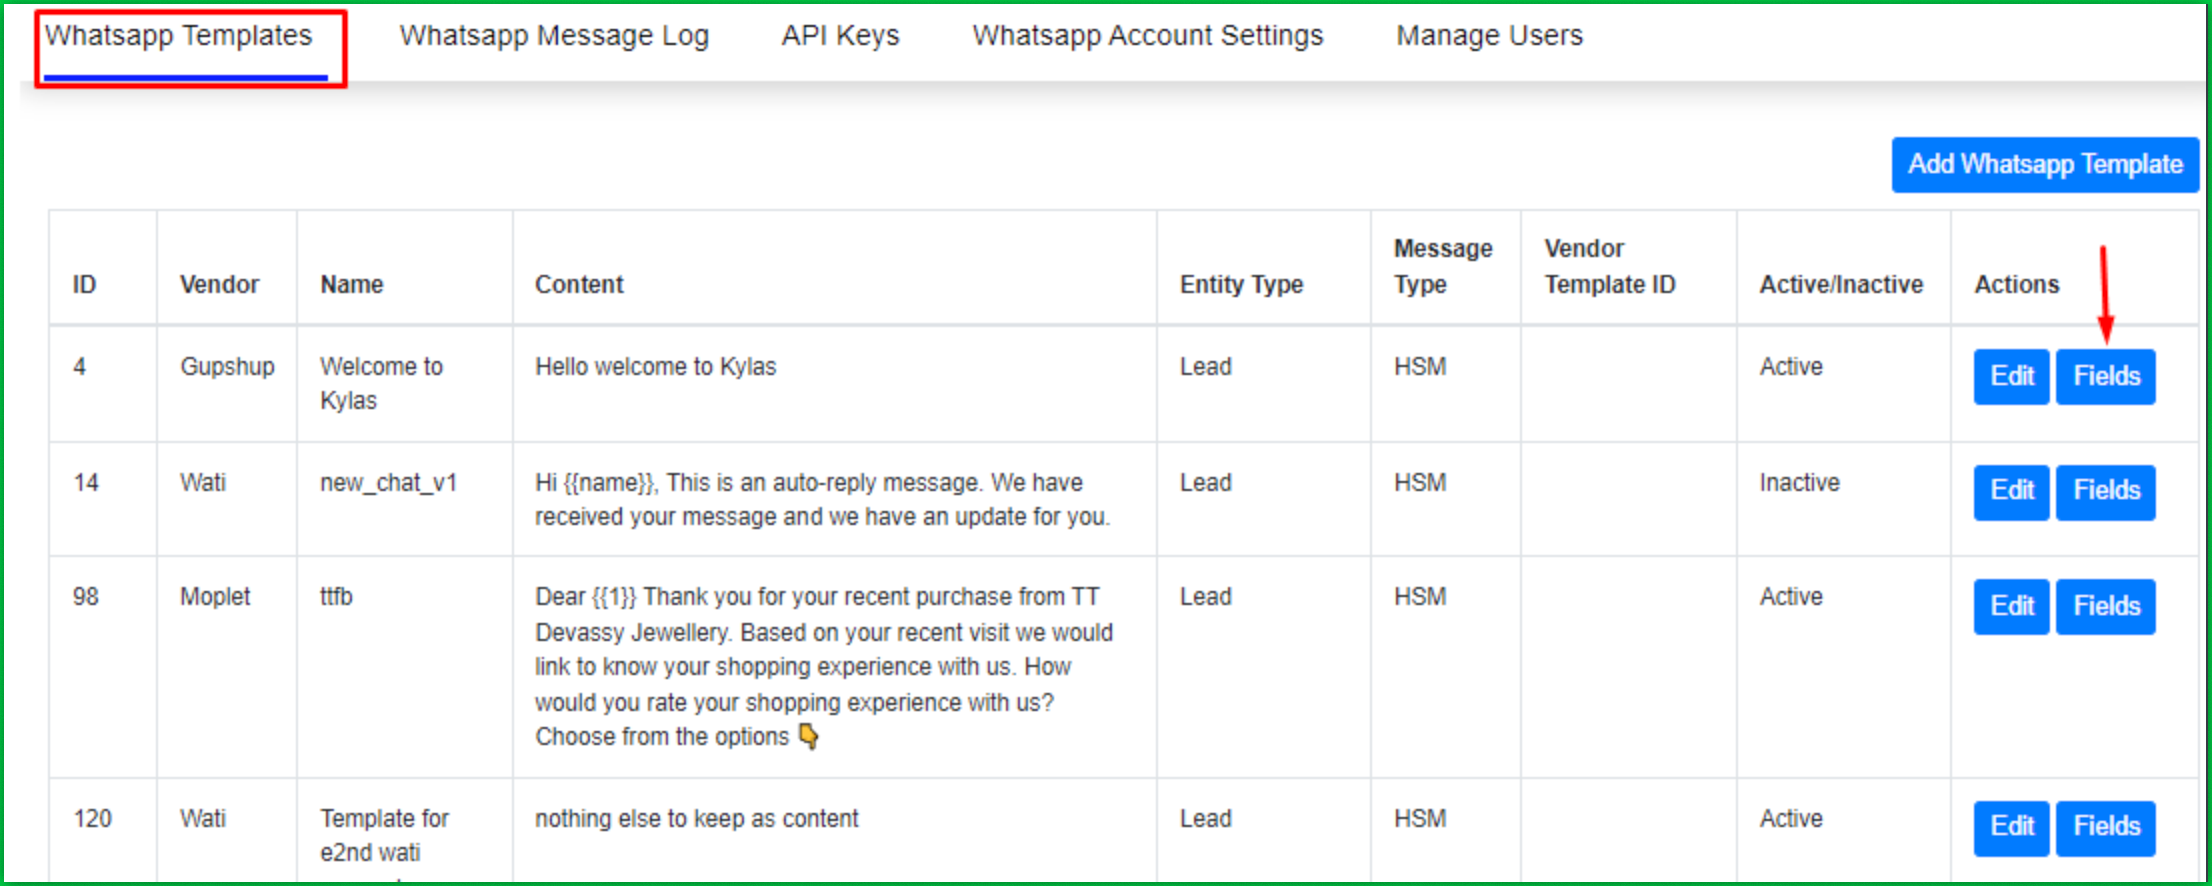
Go to the WhatsApp Template tab in Kylas.

Click Add WhatsApp Template.
Fill in the details using the content from your Wati template.
HSM.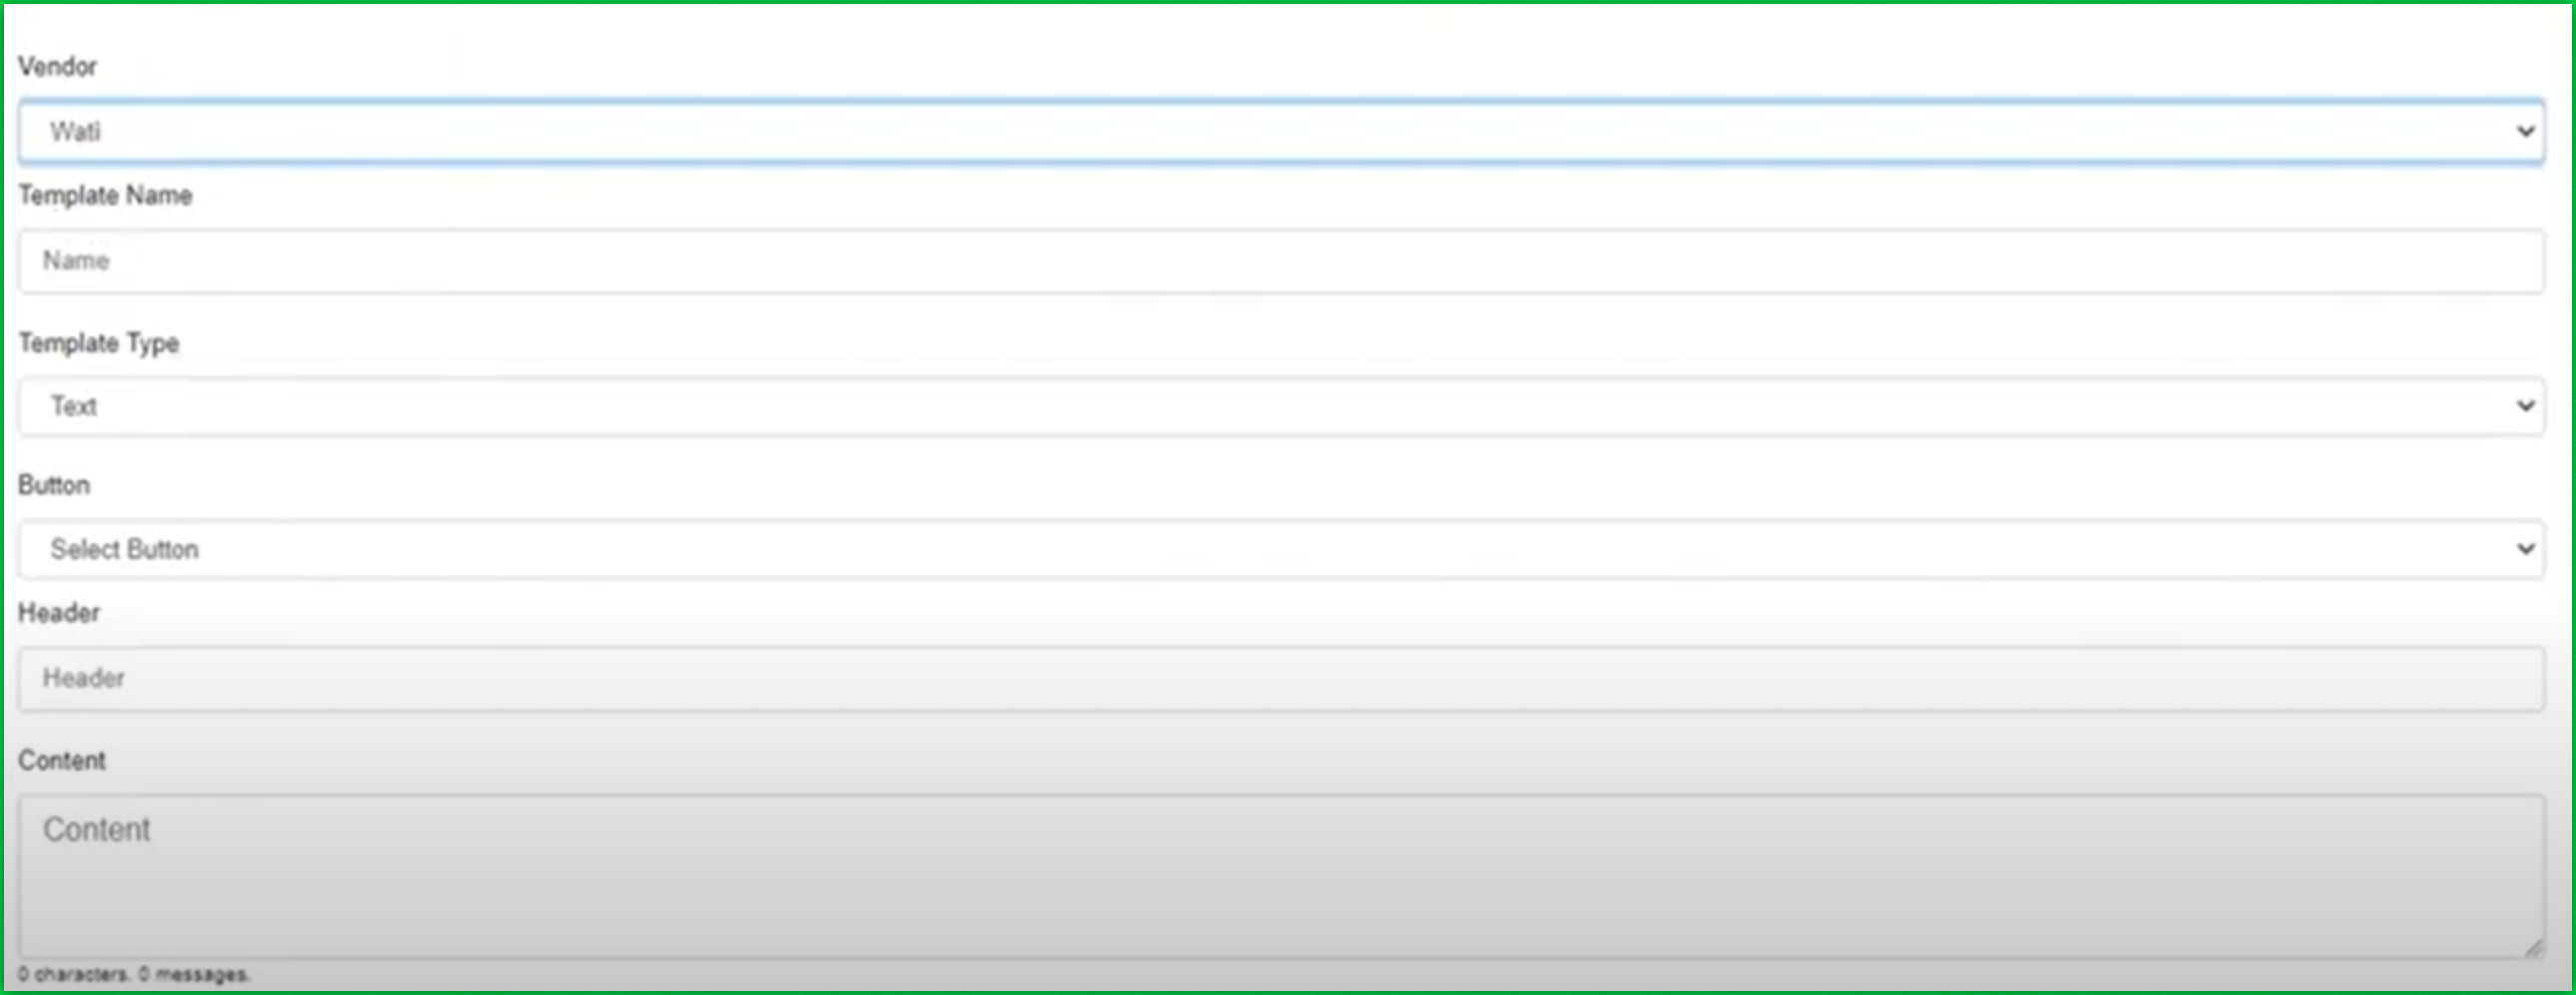
Select the Active/Enabled checkbox and click Save.
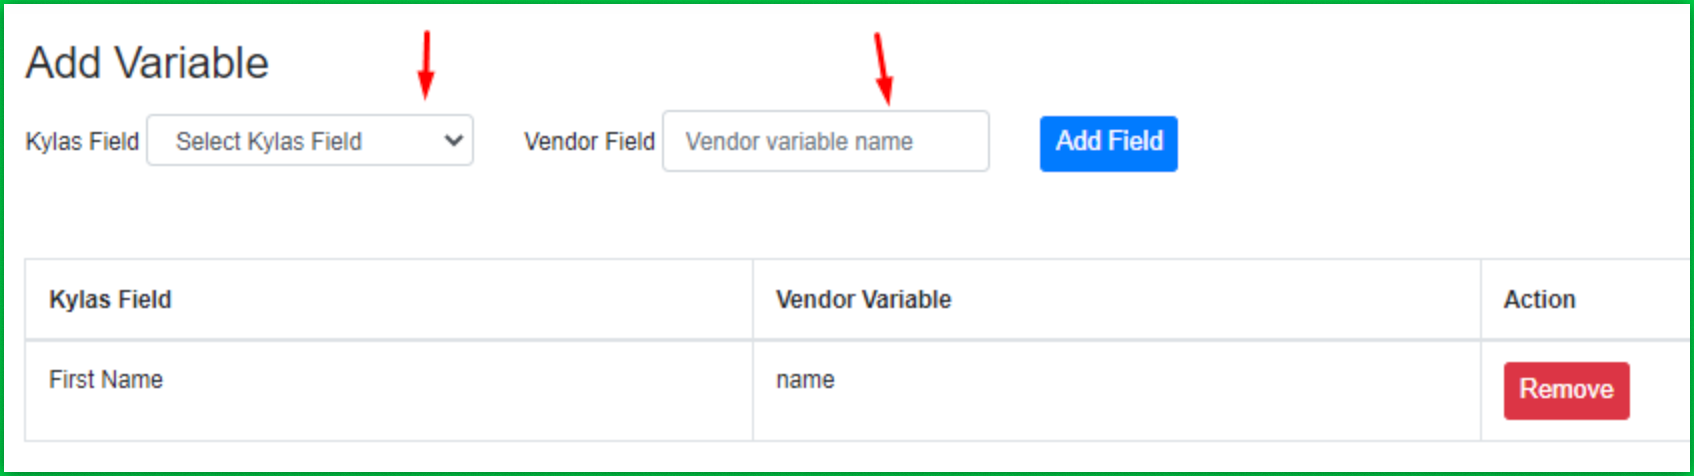
Variables help you personalize messages (e.g., using the customer’s first name).
In Kylas, go to WhatsApp Templates > Fields.
On the listing page, map Kylas fields to your Wati template variables.
For example: map First Name (Kylas) to {{name}} (Wati)
→ You need access to the Kylas API key with the following scopes:
You also need an active Elevate plan and the WhatsApp Business Messaging app installed from the Kylas Marketplace.
→ You can find your API key in Kylas under Settings > Integrations.
→ Yes, you must have an active Wati account with access to API documentation and Webhook settings.
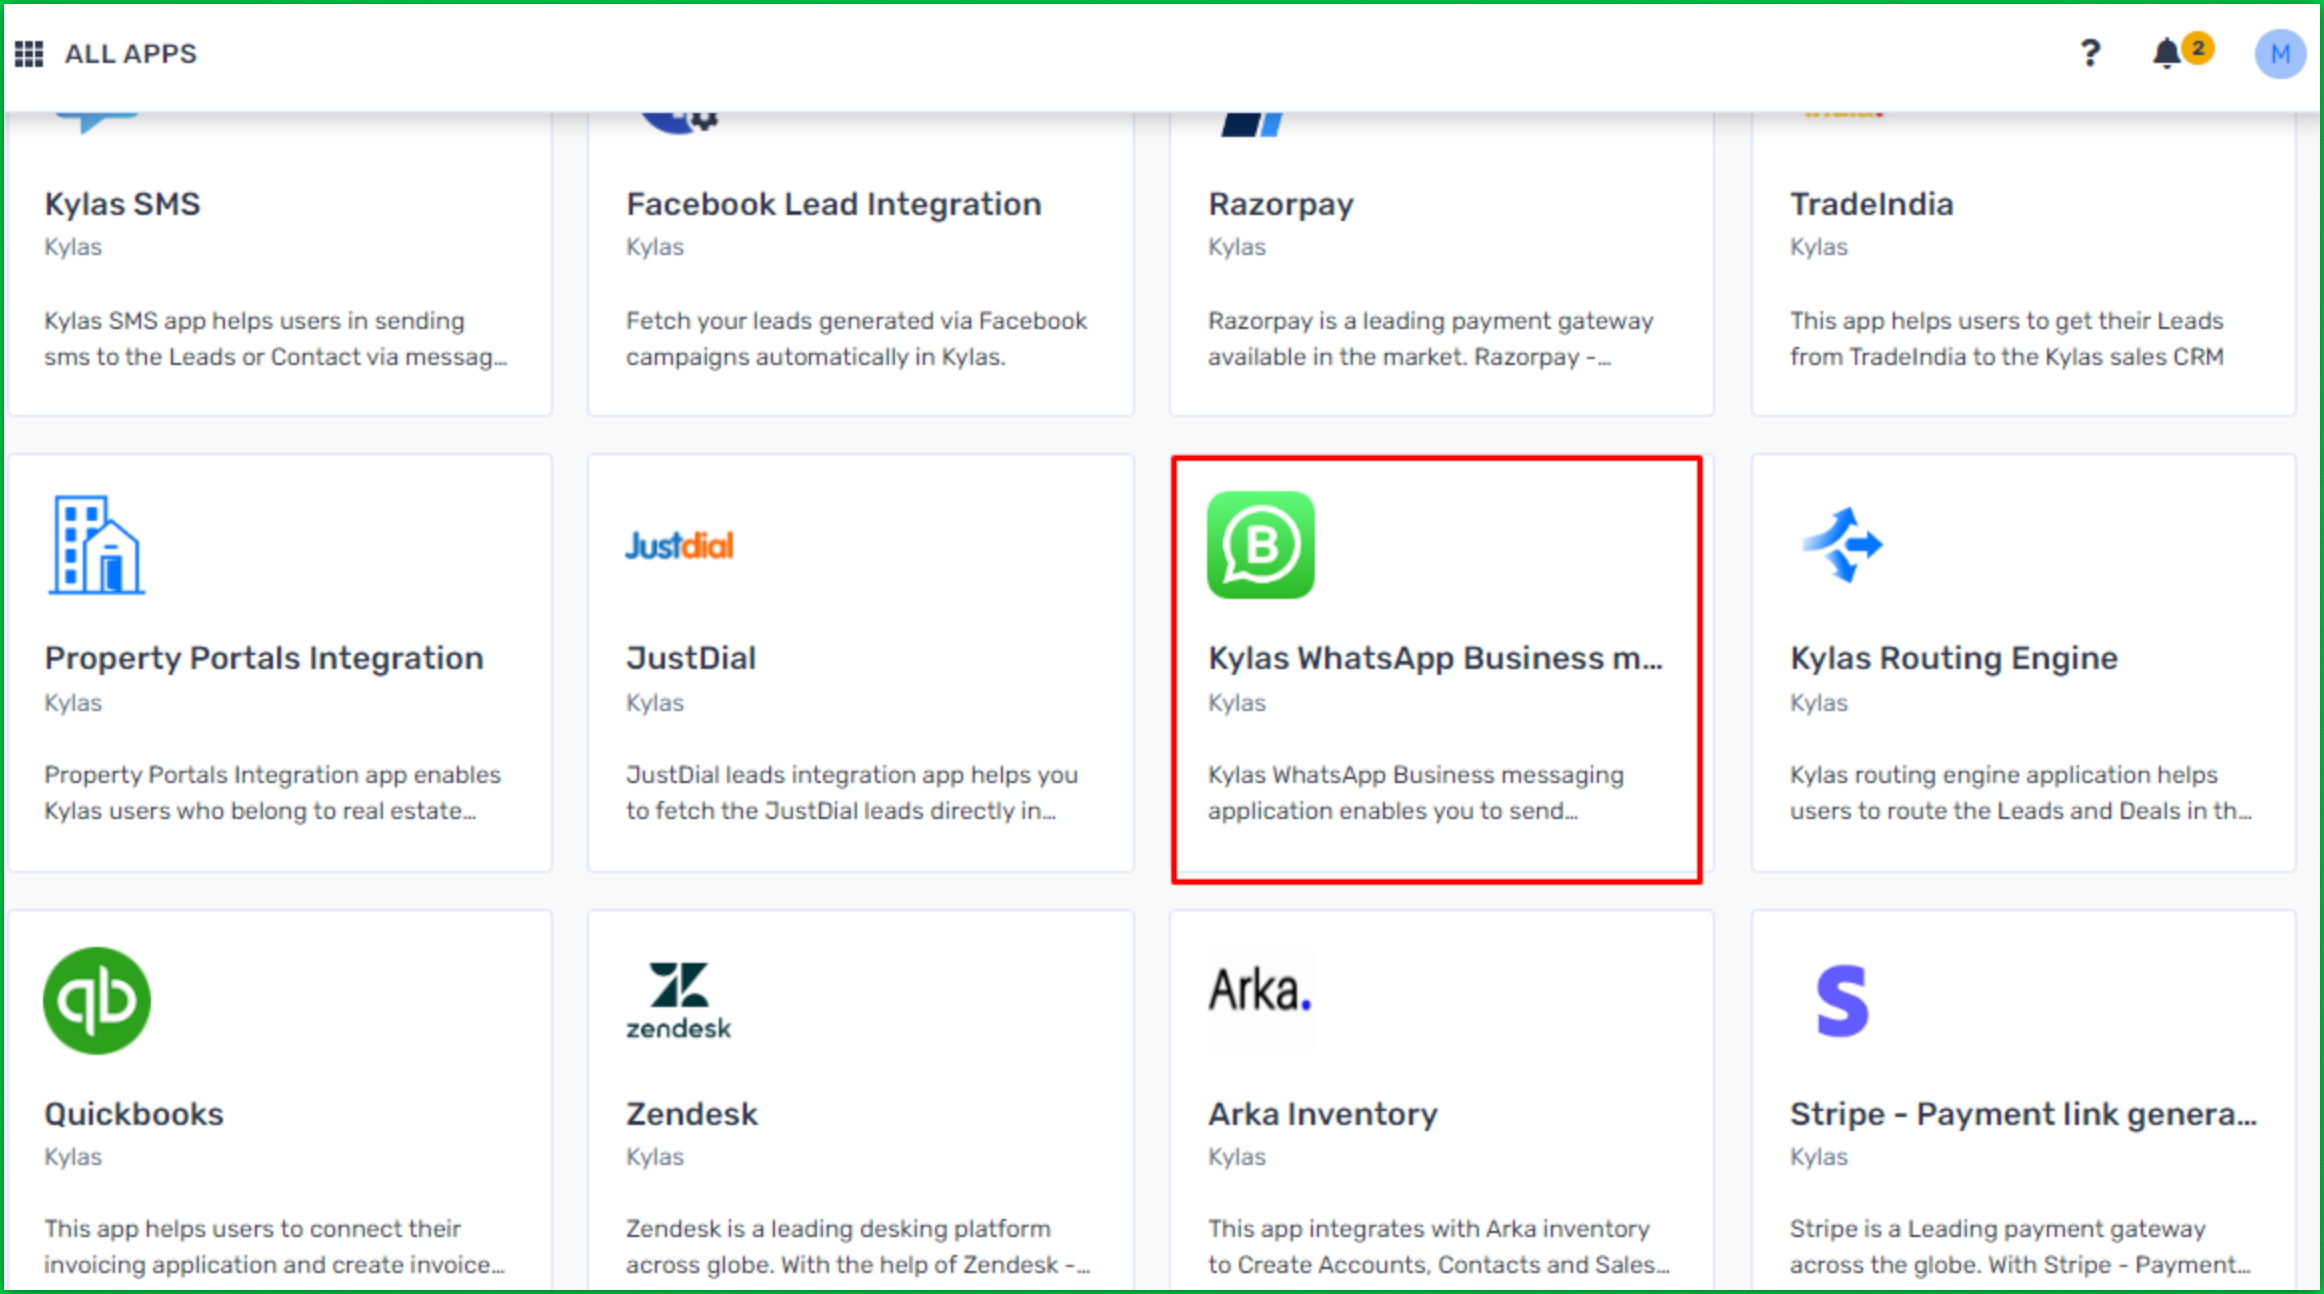
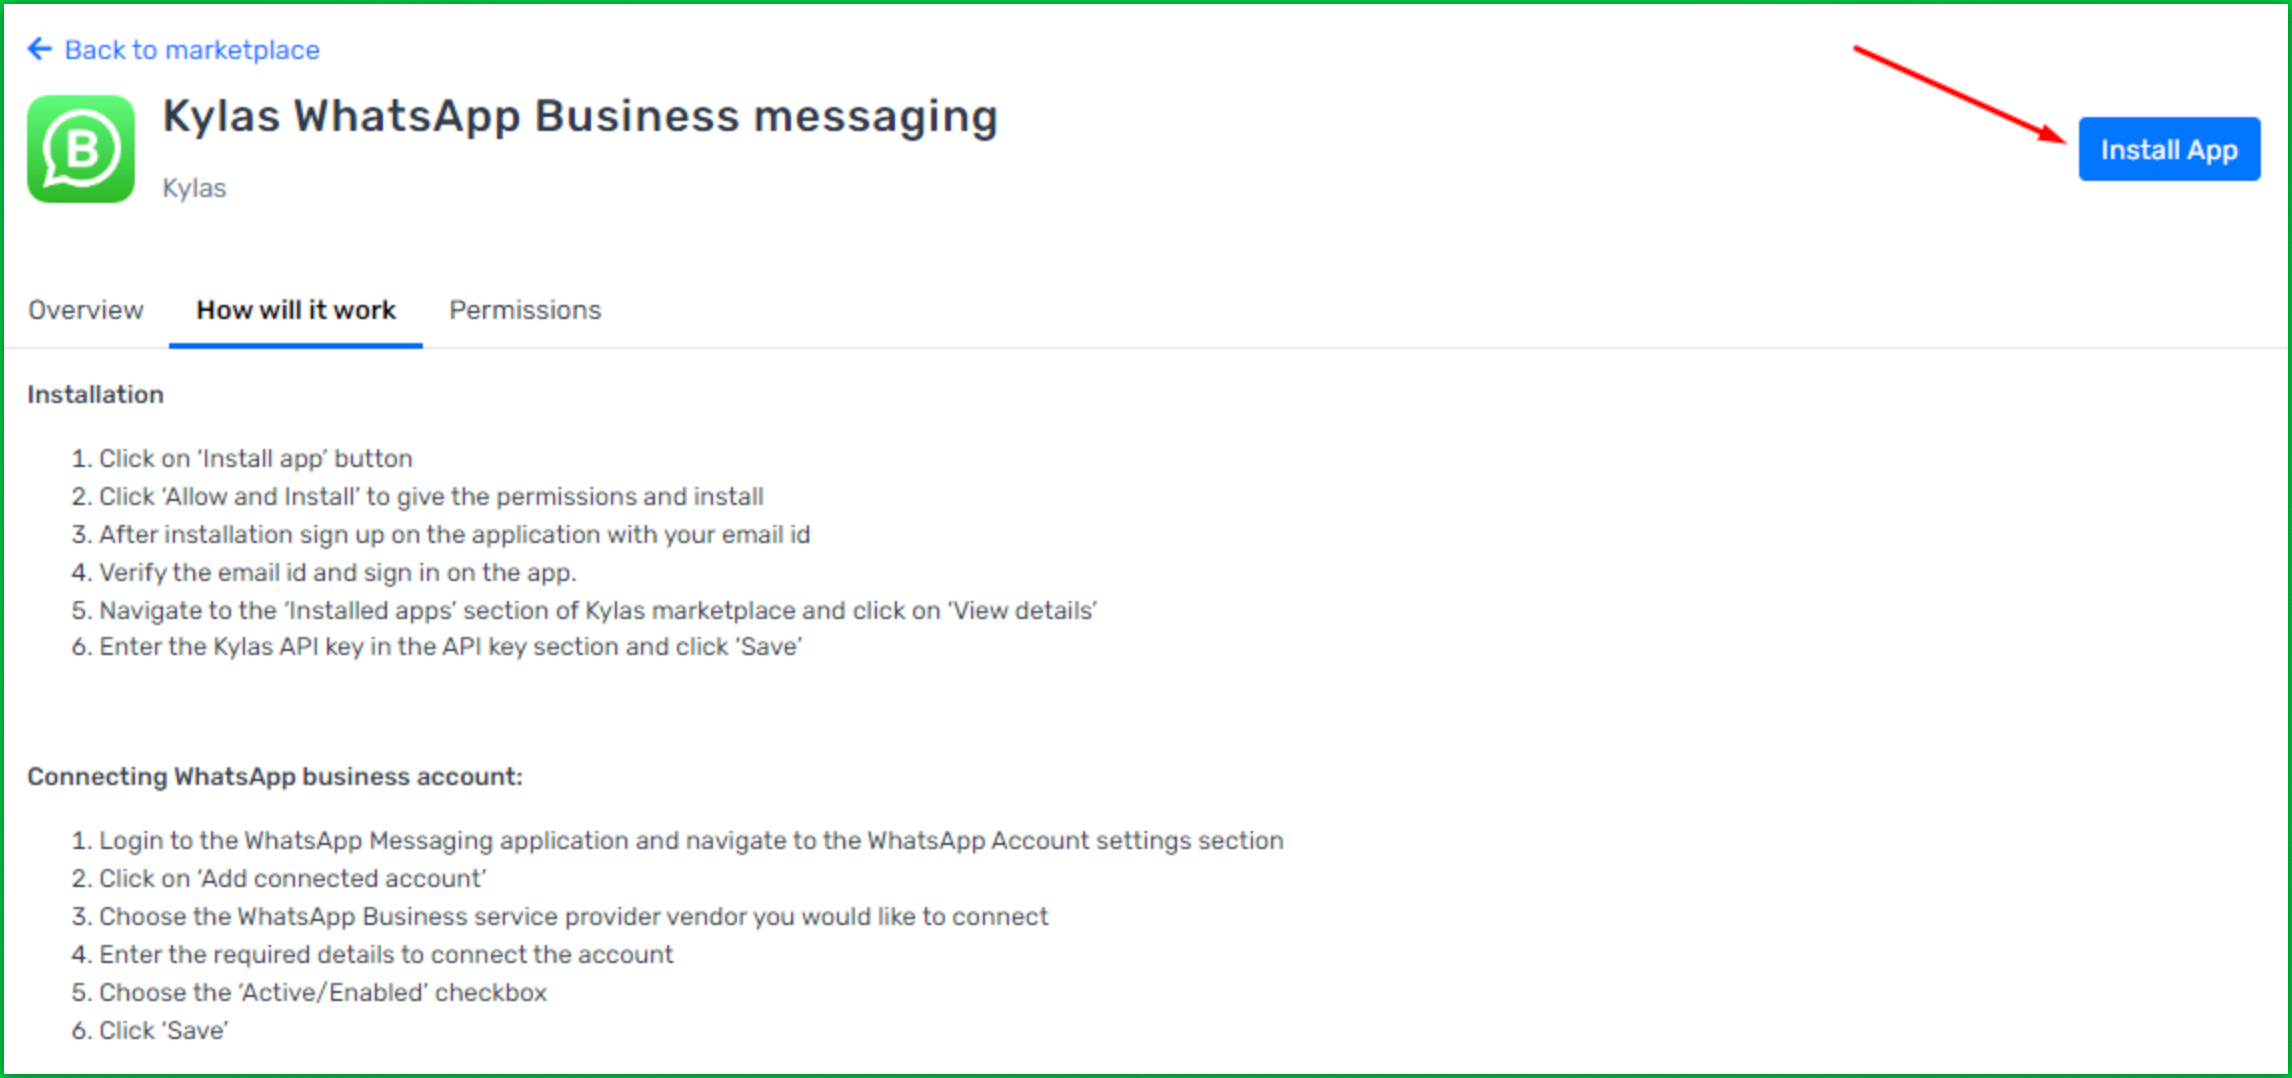
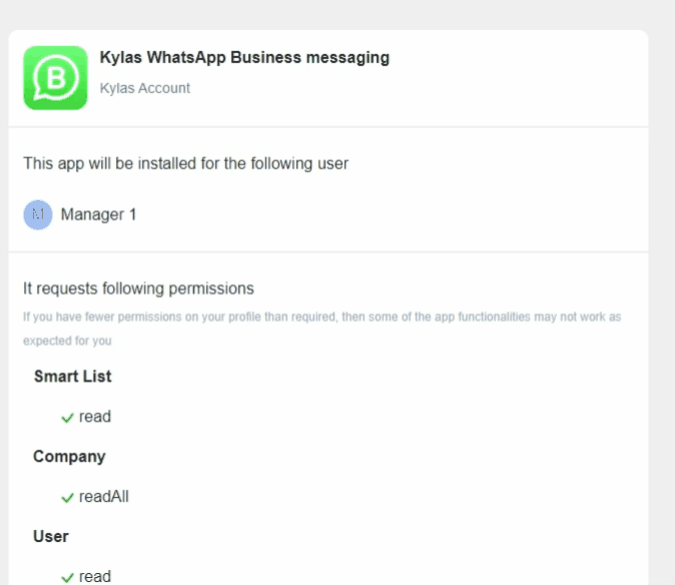
→ Log in to your Kylas account, go to the Marketplace, find Kylas WhatsApp Business Messaging, and click Install App. Then follow the prompts to grant permissions and complete the setup.
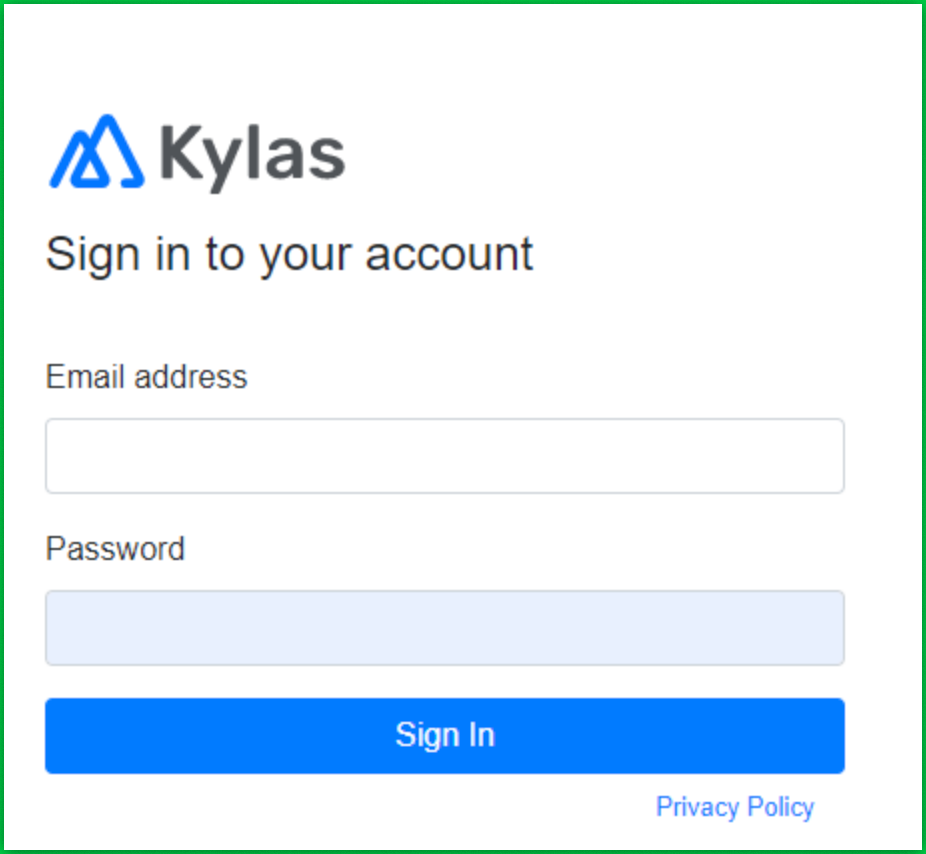
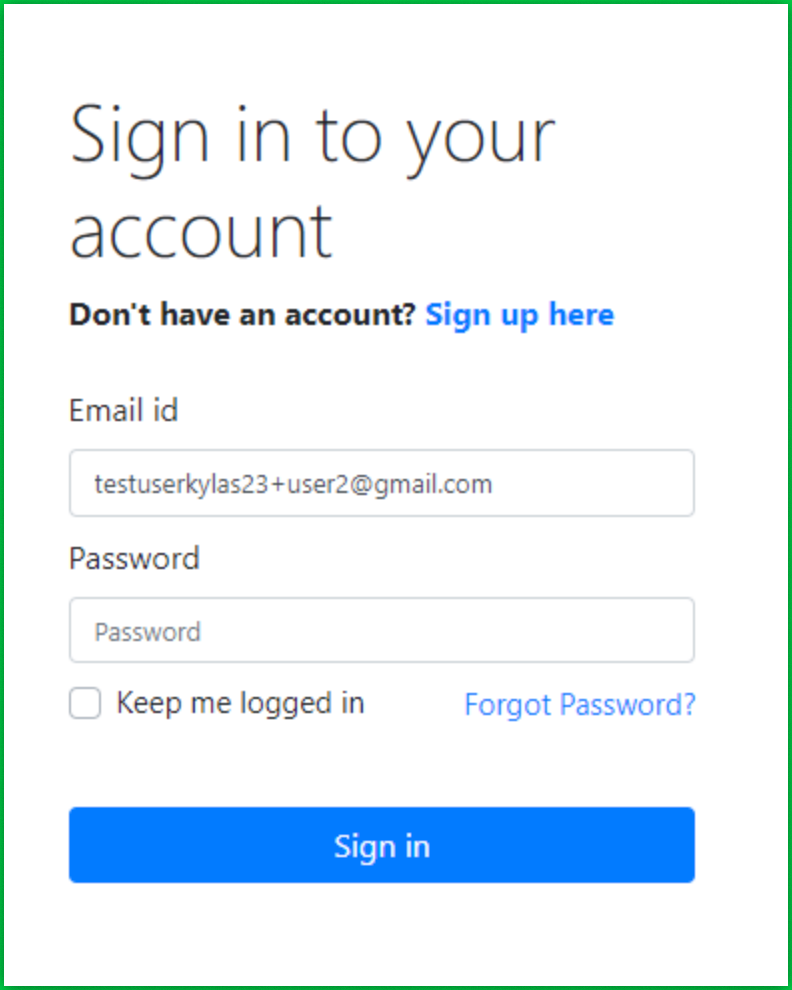
→ You’ll need to sign up on the installed app, verify your email, and log in to proceed with integration steps.
→ In WhatsApp Account Settingsin Kylas:
→ Copy the Webhook URL from WhatsApp Account Settings in Kylas. Then in your Wati account, go to Webhooks, click Add a Webhook, paste the URL, set status to Enabled, choose Message Received as the event, and click Save.
→ Add a lead in Kylas. In the Productivity panel, click Messages > New Message, choose Wati Messaging App, fill in the required fields, and click Send.
→ In your Wati account:
Note: All templates must be approved by Meta before use.
→ In Kylas, go to WhatsApp Template, click Add WhatsApp Template, and paste the details from your approved Wati template. Set the Message Type to HSM, optionally skip the Vendor Template ID, check Active/Enabled, and save.
→ Yes. You can add variables to templates. Go to WhatsApp Templates > Fields in Kylas and map Kylas fields to Wati template variables (e.g., map First Name in Kylas to {{name}} in Wati).
→ Message status and logs are available in the WhatsApp Message Logs section in Kylas.

